
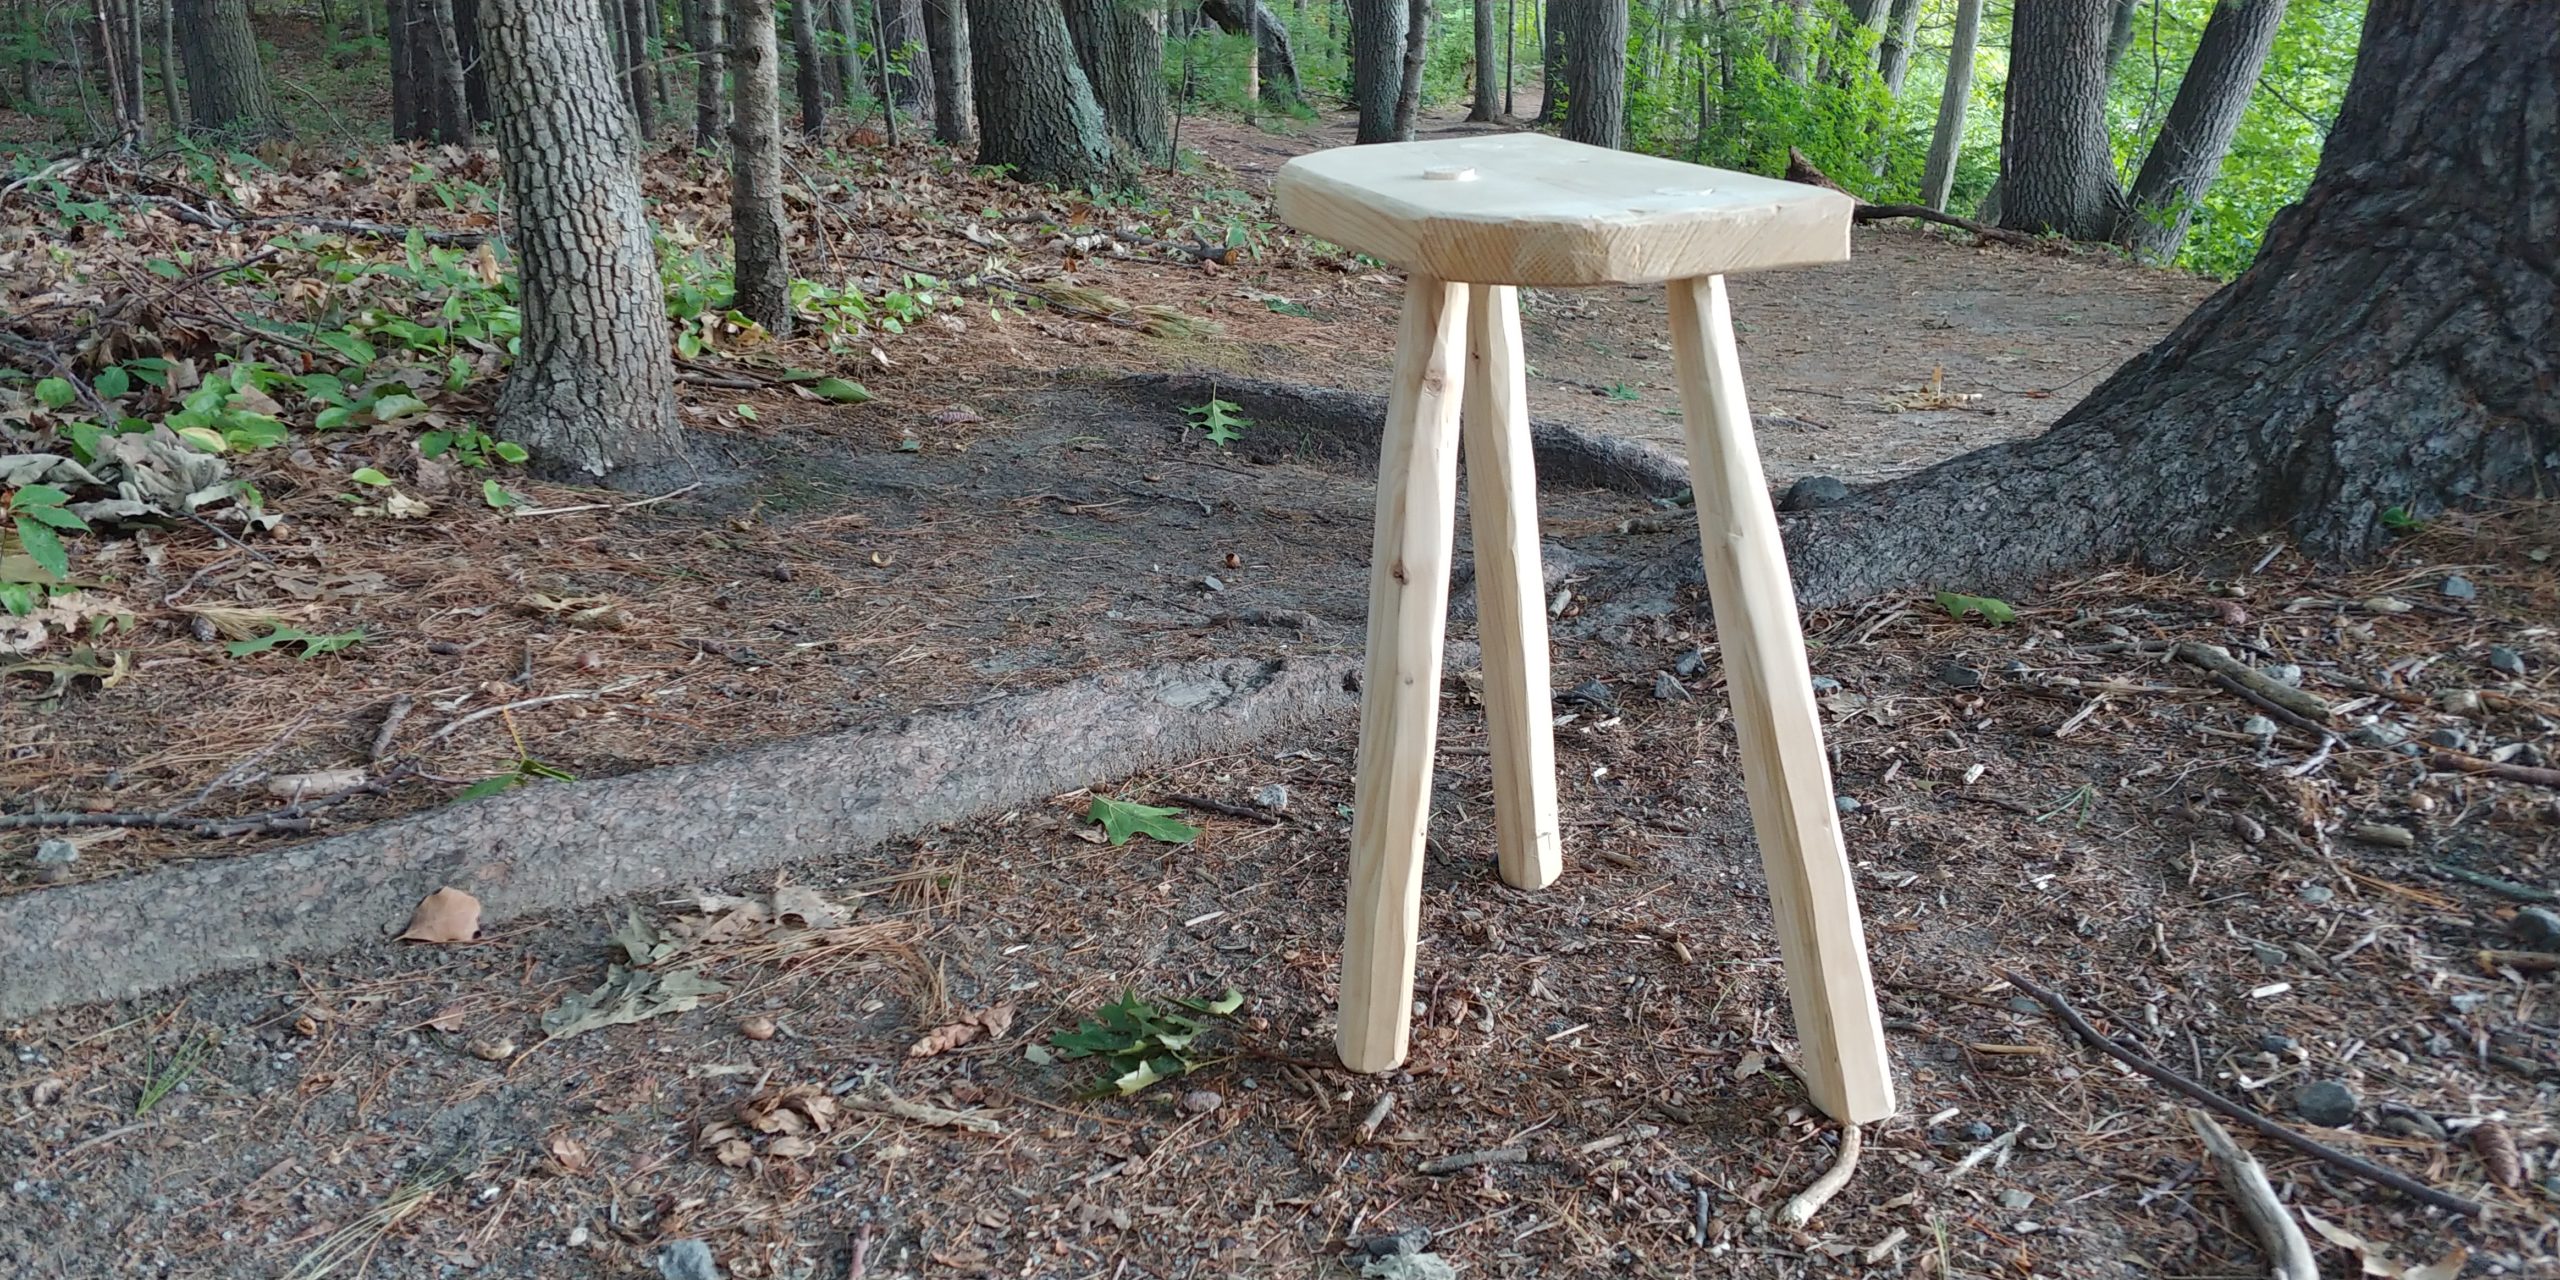
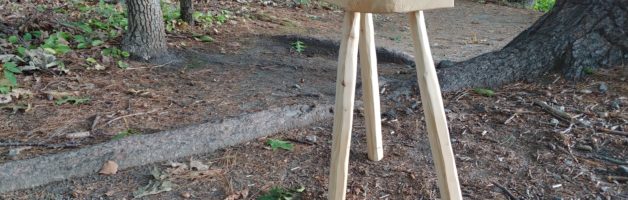
I am not a fan of a soggy bottom so I decided to make this simple project using leftover lumber and a few hand tools. As I built the project, I also became curious to know which side was the ‘front’.
Archaeologists have discovered several ‘D’ shaped pieces of wood, several of which have three holes forming a triangular pattern. Many of these samples date between 900 – 1050 (Morris.) Some rectangular boards with four holes have also been discovered, but I will save such an advanced project for a later date.
Construction was a simple matter of cutting, shaping, and assembling. After the long and arduous task, an advantage to making this project was quickly found in that now I had a place to rest and recover from a job well done.
Line drawing;
Morris, Carole A. Wood And Woodworking In Anglo-Scandinavian And Medieval York. Council For British Archaeology, 2000.
Links to additional information:
https://docs.google.com/document/d/15BLzMw1a0itfJO7JZj4LjOMRt-CRHoC84HXJN1LPcvQ/edit?usp=drivesdk
Comments would be awesome. I would welcome the reader to _sit_ around and chat.


How long did it take to construct? Which side ended up being the ‘front’? I imagine the advantage of three legs over four is stability.
Thanks for taking a look. With the limited use, I think that two legs forward supports my center of gravity better. I took some time building it. In this case planing the board flat and, sawing the length of legs may have accounted for a fair bulk of the time. With a better board I think you could make this quickly in an afternoon.
Alric: Well done on the woodworking and the documentation. I’m glad to see the wedges to keep the legs firmly in place. I wonder if your sources (for stools, benches, etc.) include any images of legs.
I note that you may also want to look at Italian Sgabello – stools with a back to them – as another source for research. There are two simple ones in the Hammond Castle Museum in Gloucester, among other museums.
I don’t see where you mention the type of wood (oak, pine, maple, etc.). Do you have plans to finish the wood to protect the legs from soggy bottoms? You probably already know that a protective coating (such as paint, lacquer, or varnish) will help your seat support you for many years.
I look forward to sitting around with you at some time.
Thank you so much, I am glad that you enjoyed. I’ll have to take a look at the Italian chair mentioned. I have not seen photos or drawings of the legs but one source mentioned that one still had two of the legs (or significant pieces if i recall,) and another mentioned that they were secured with wedges. The example above found at York seems to have a piece of the leg stuck in the top most hole, but no sign of a wedge. A tapered friction fit would be very secure over time and get only tighter as someone sat upon it.
I didn’t mention it was made of pine or other soft wood. I’d like to add this into the next edition of the documentation, along with some references to other furniture made of non hardwood. I think that the more important aspect though may be that this [style] was more of a ‘scrap’ project. Other styles have elaborate carving to enhance their beauty.
As to a finish, I’d like to give it something like a boiled linseed oil and / or paste wax but nothing like a modern urethane. I don’t know much about period finishes (yet.)
Thanks again for giving me more food for thought and it would be a pleasure to just sit around someday.
Great job!
Thank you very much
This looks pretty comfortable. Also it’s a lot less bulky than a camp chair. Excellent work, and thank you for the documentation.
Thank you so much. It is certainly a light weight option and moves about easily.
Wood working is wizardry to me – this is so cool!! Thank you for sharing
Thank you!